Installing the GitHub App
Step-by-step guide to installing the FlagShark GitHub App and connecting it to your repositories.
FlagShark integrates with GitHub through a GitHub App. This guide walks you through the installation process and explains the permissions FlagShark needs.
Prerequisites
Before you begin, make sure you have:
- A GitHub account with access to the repositories you want to monitor
- Admin or owner permissions on the GitHub organization (for organization-wide installation)
- Or admin access to individual repositories (for personal/single-repo installation)
Installation Steps
Step 1: Start the Installation
Visit the FlagShark Dashboard and sign in with your GitHub account. If you don't have an account yet, one will be created automatically.
Step 2: Authorize the GitHub App
Click "Connect GitHub" to begin the installation process. You'll be redirected to GitHub to authorize the FlagShark app.
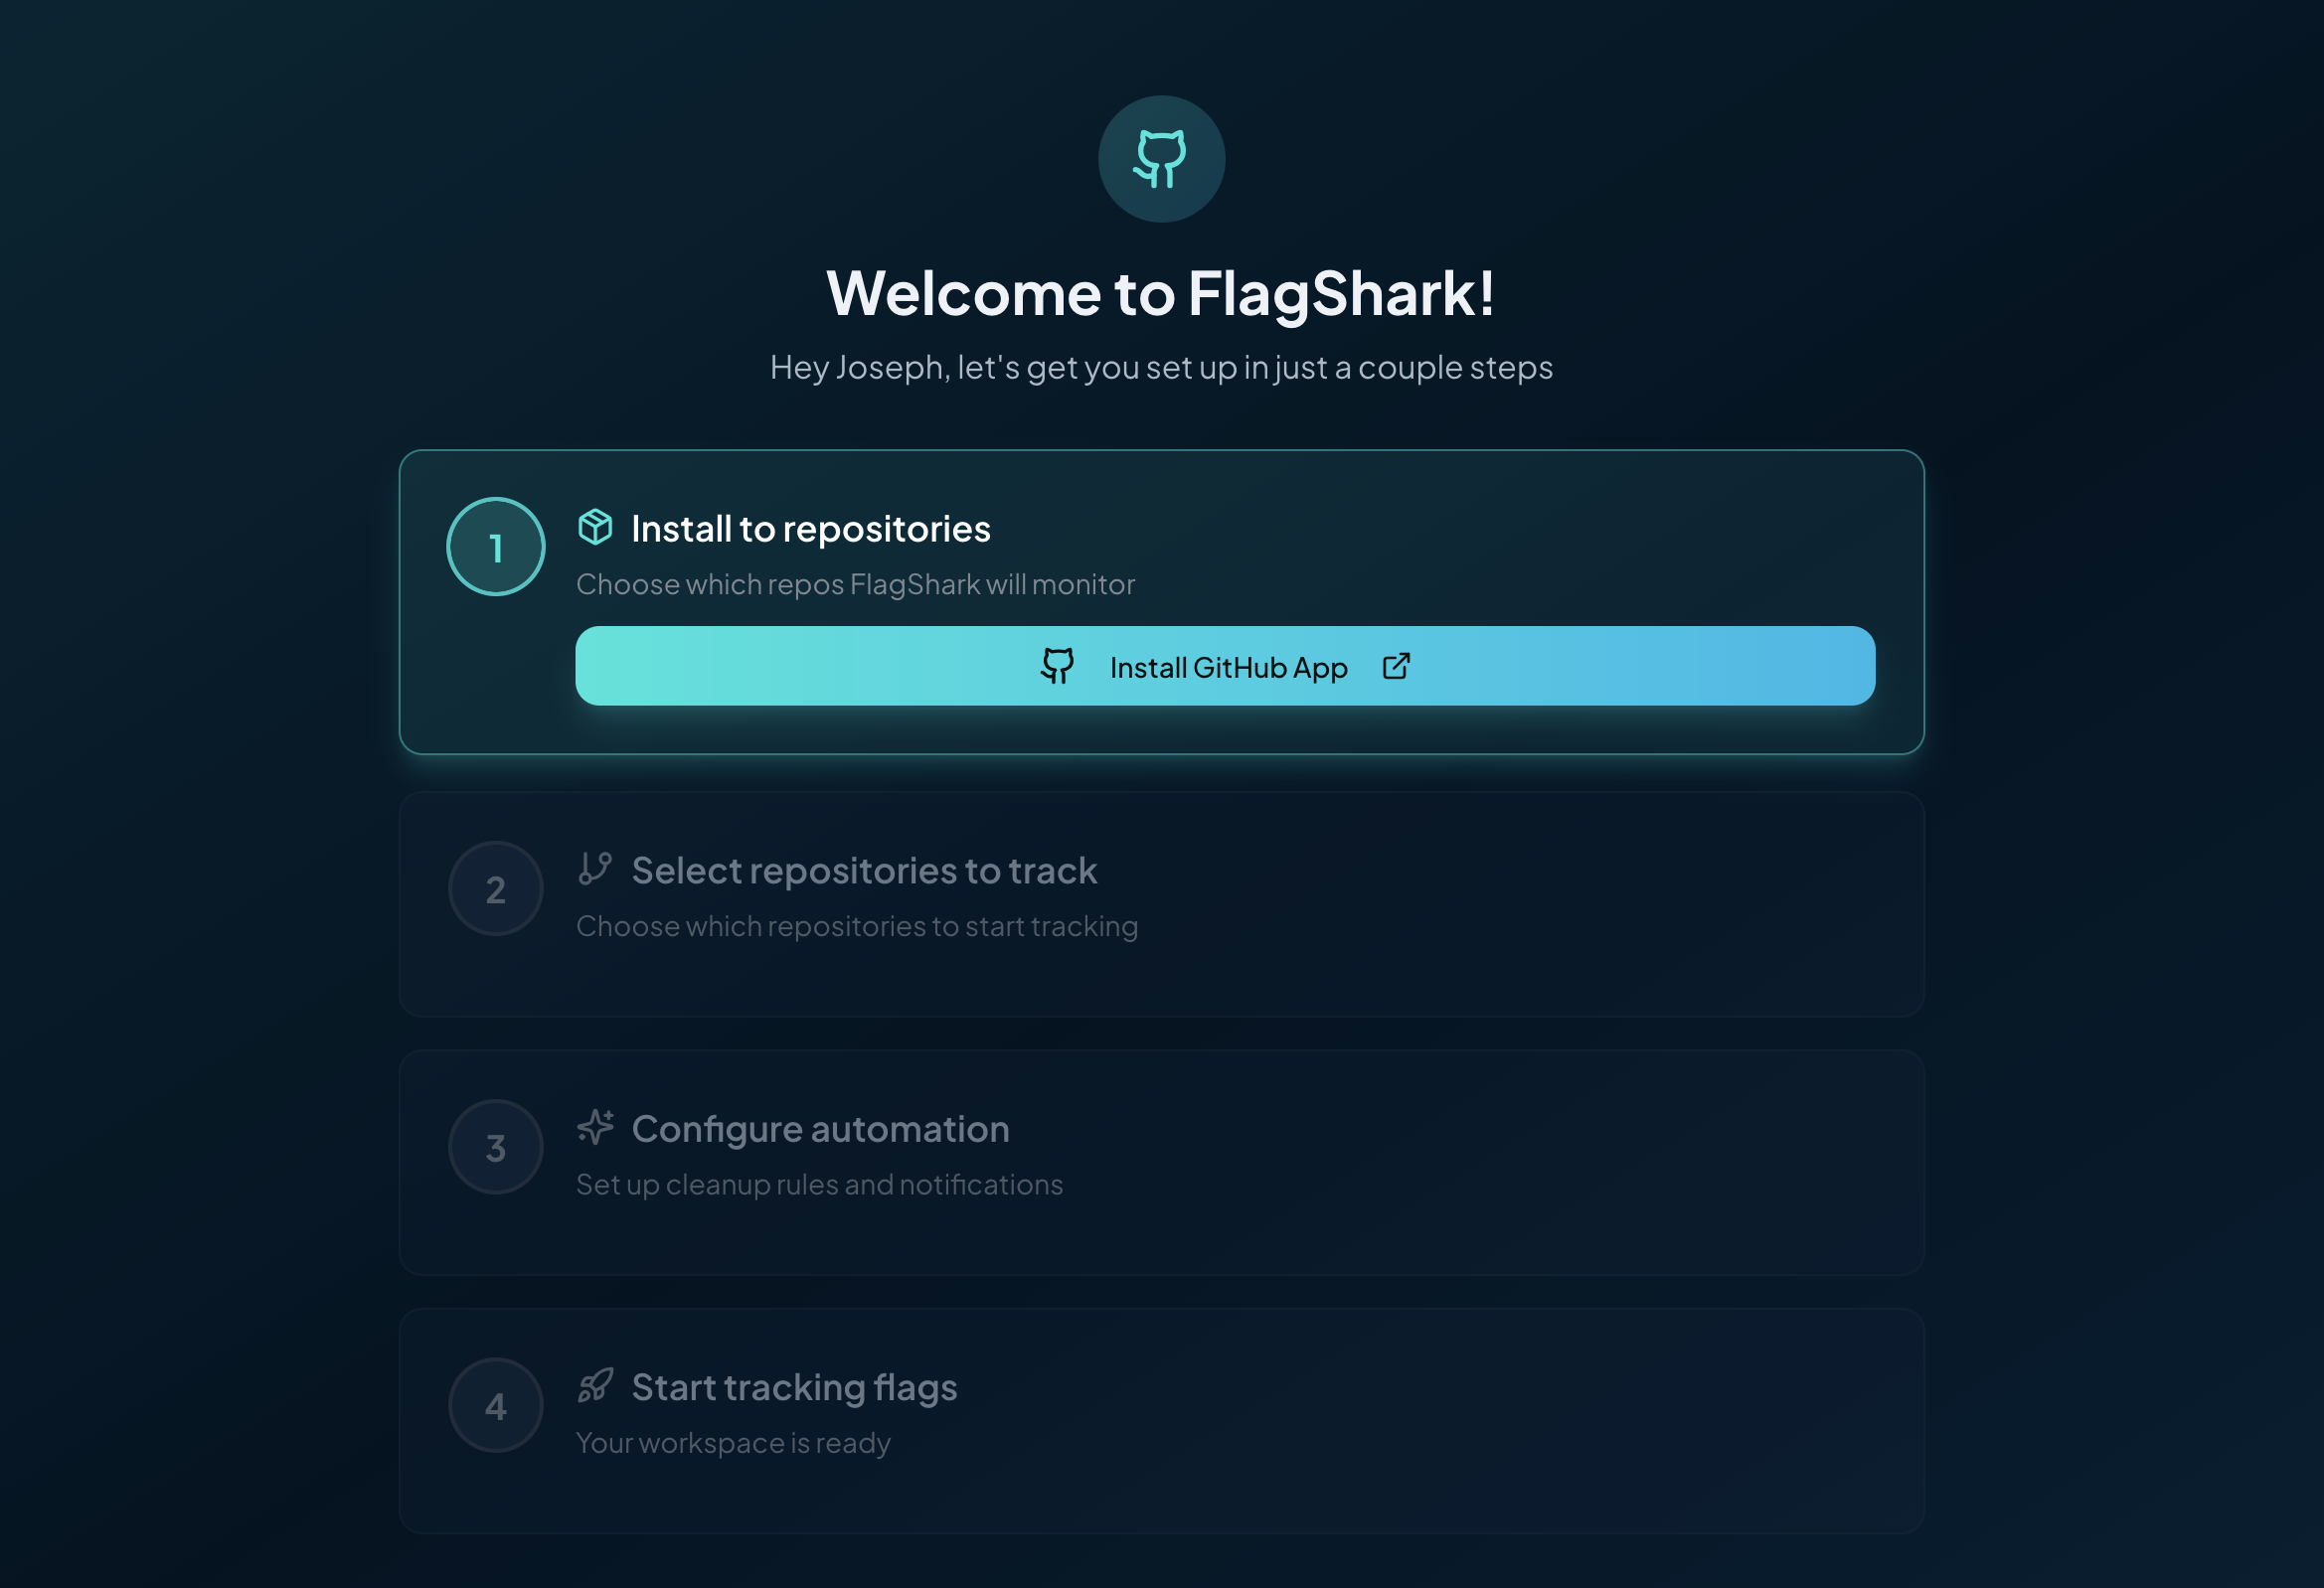
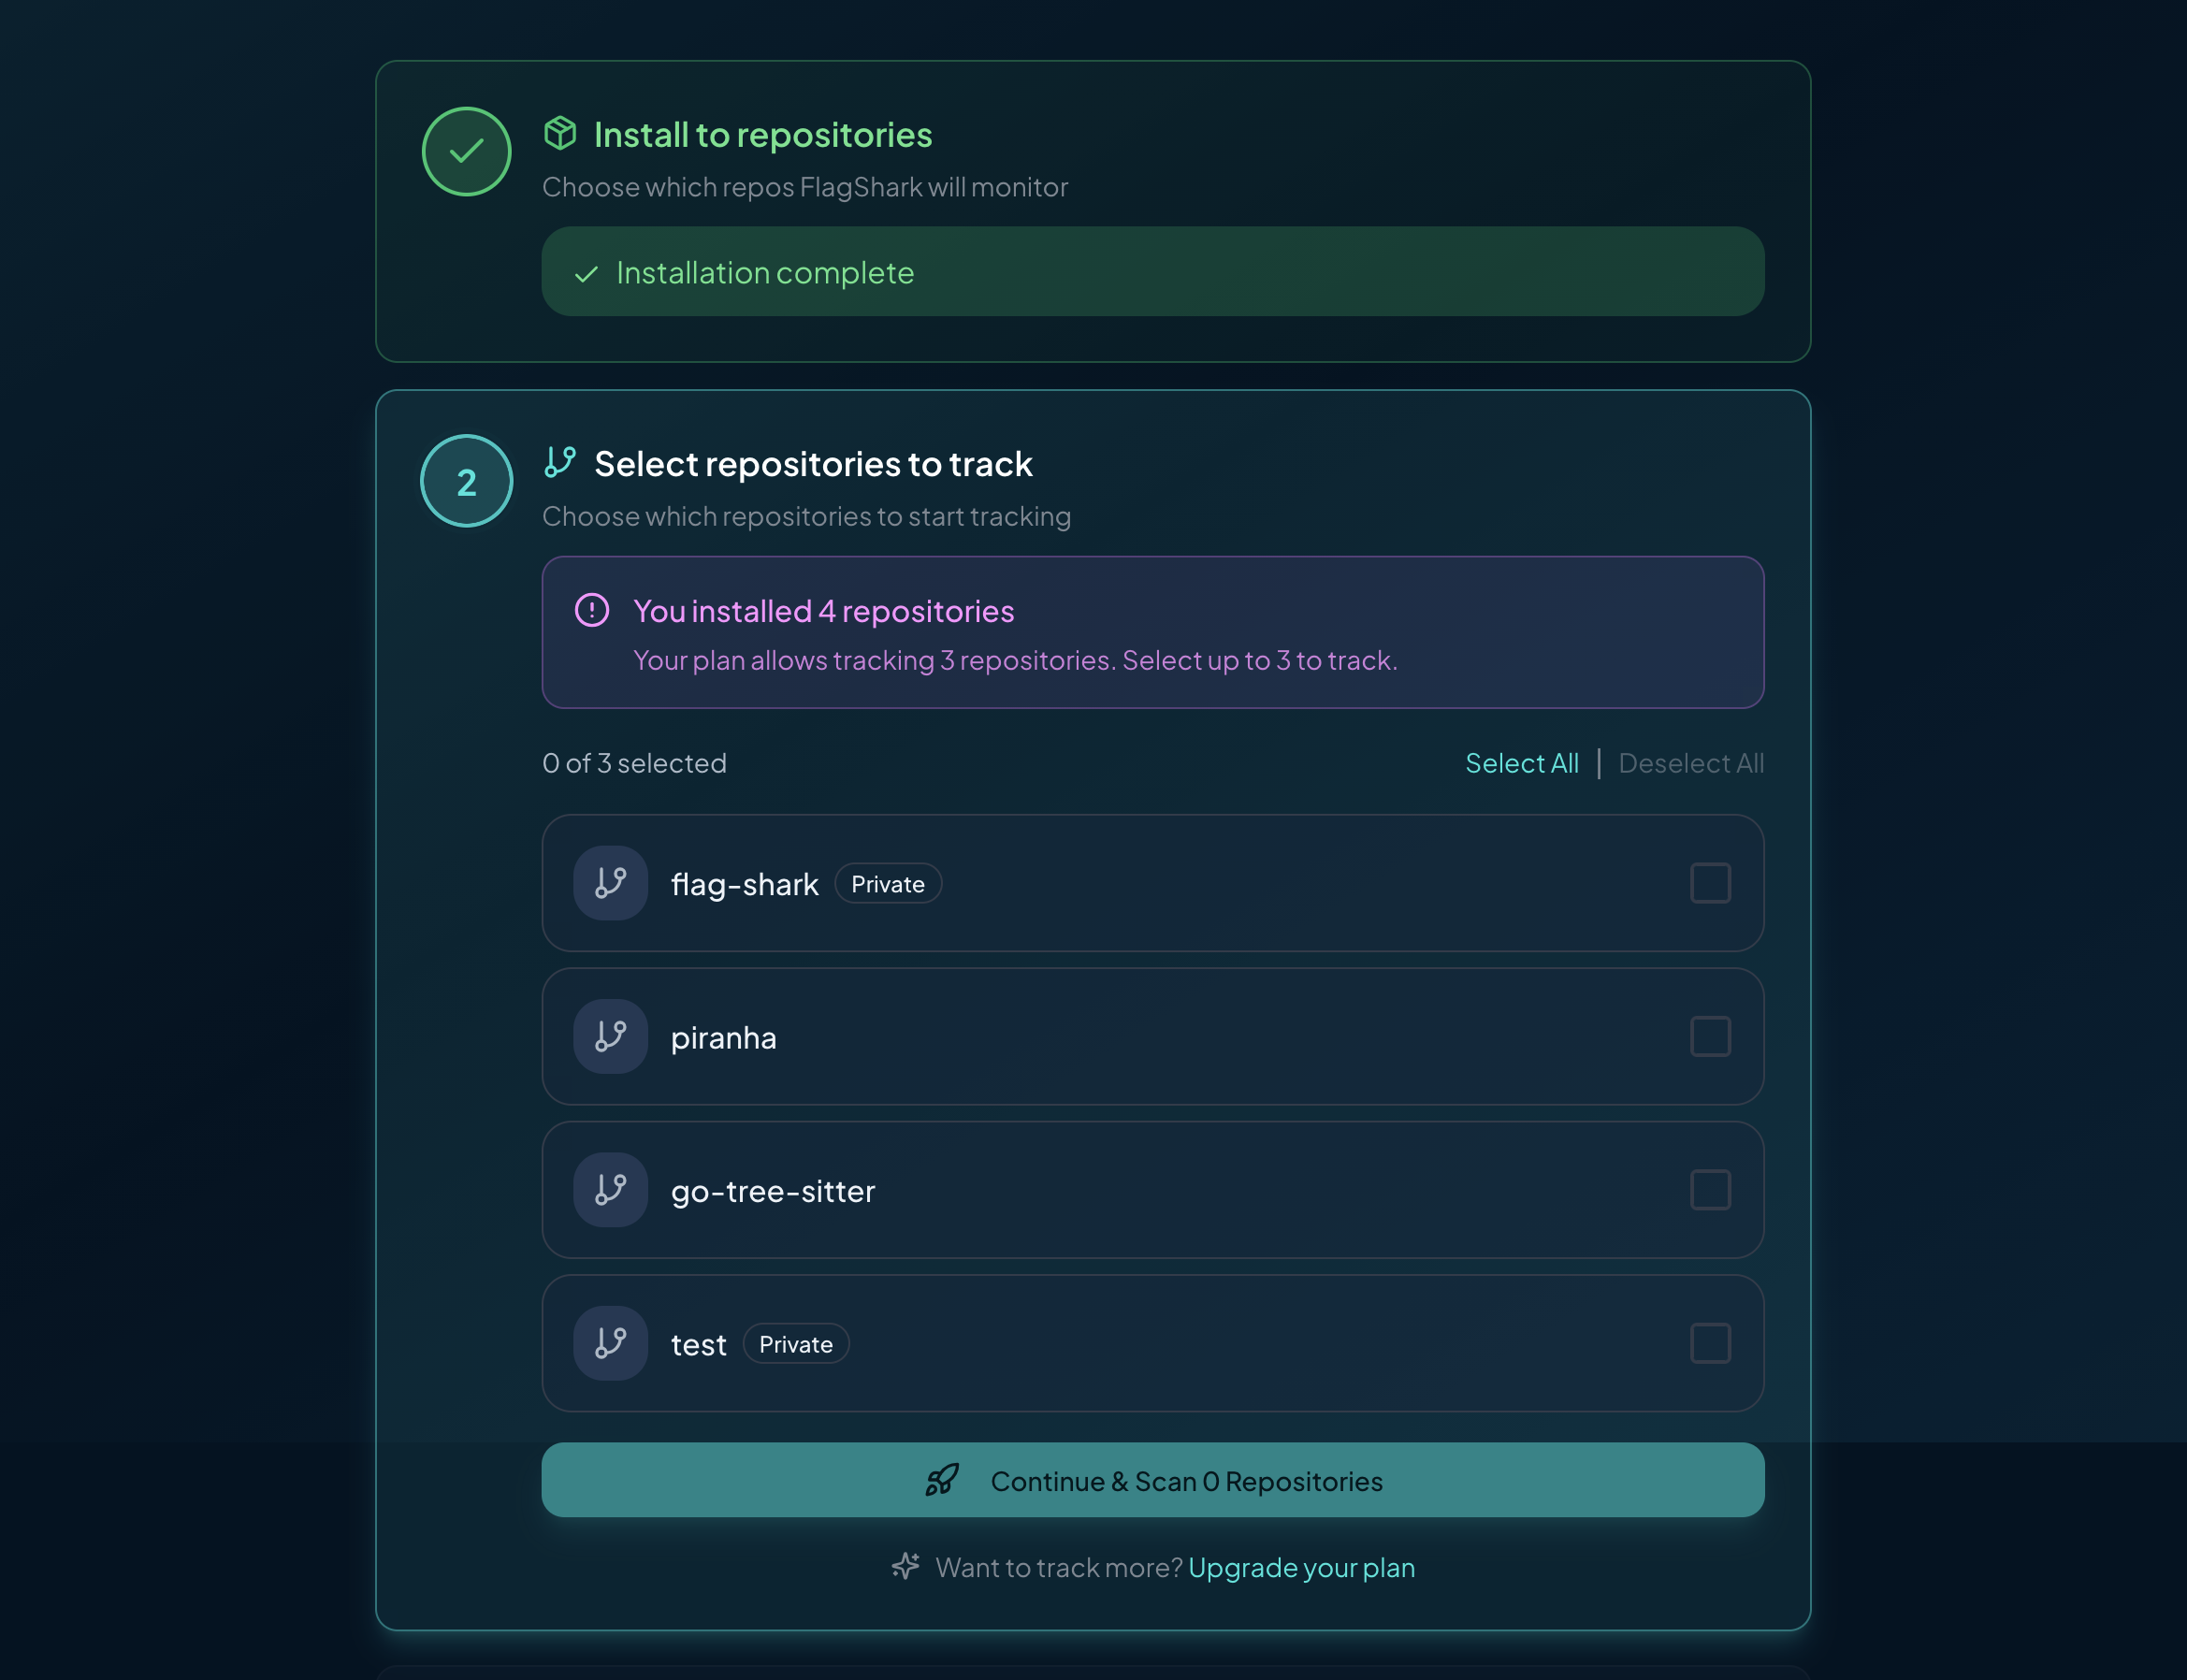
Step 3: Choose Installation Scope
GitHub will ask you where to install the app:
- All repositories - FlagShark will have access to all current and future repositories
- Select repositories - Choose specific repositories to monitor
We recommend starting with select repositories and expanding later as needed.
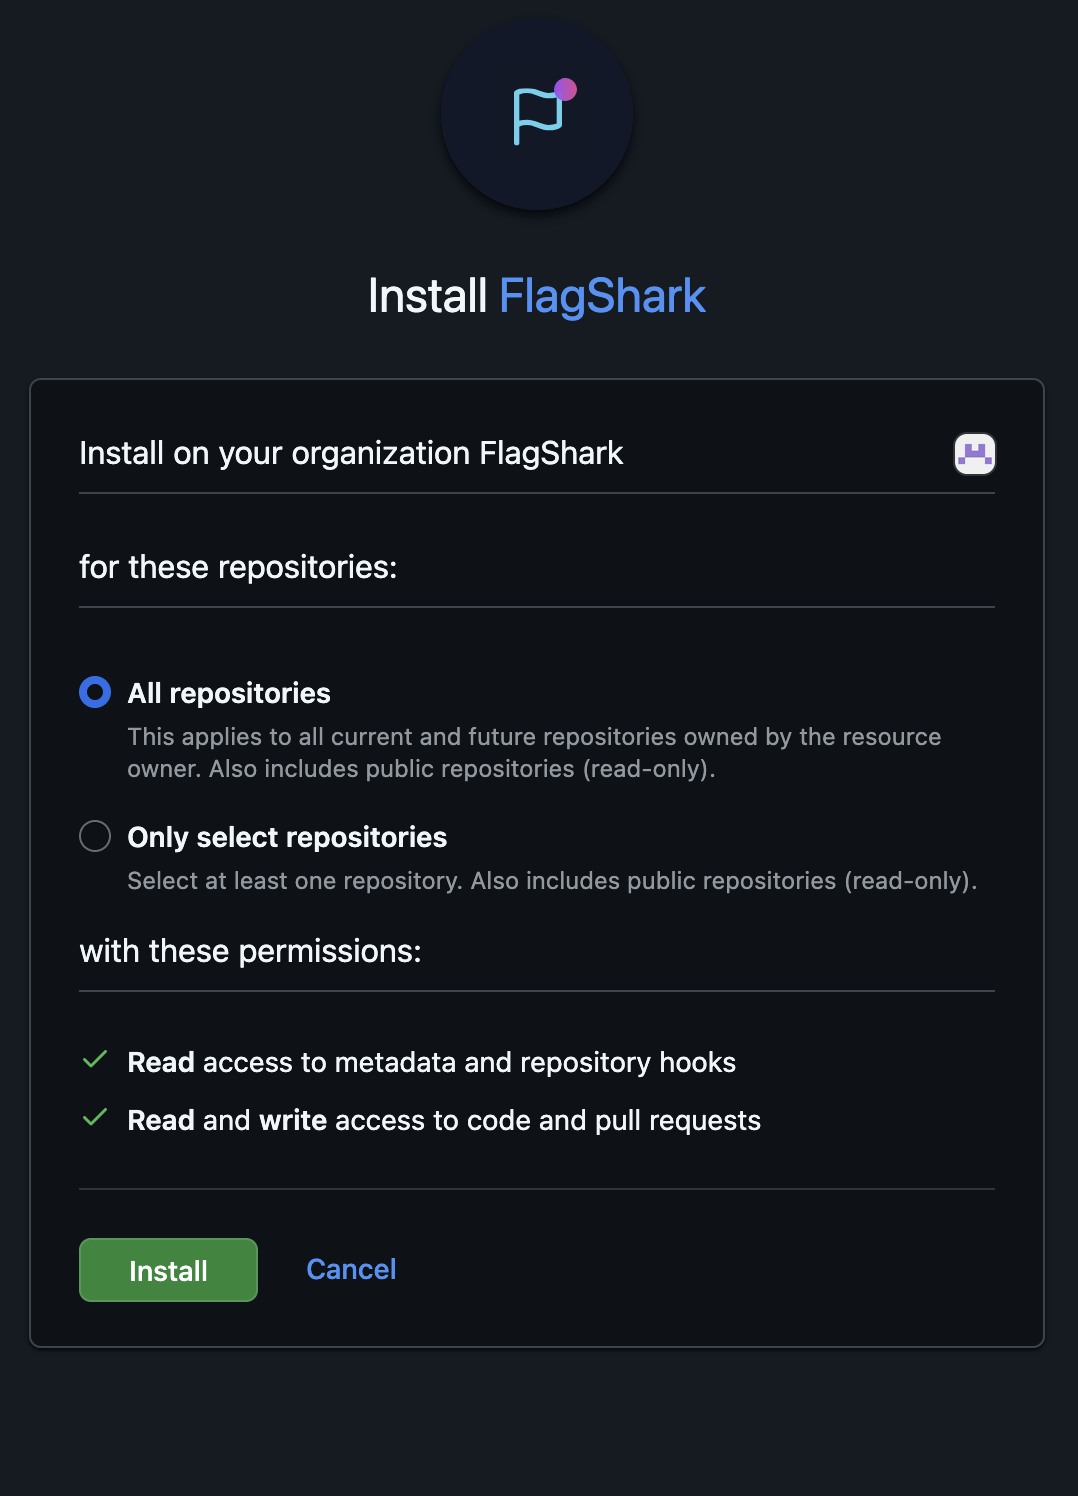
Step 4: Review Permissions
FlagShark requests the following permissions:
| Permission | Access Level | Purpose |
|---|---|---|
| Repository contents | Read | Analyze code for feature flags |
| Pull requests | Read & Write | Post comments, create cleanup PRs |
| Webhooks | Read | Receive notifications when PRs are opened |
| Metadata | Read | List repositories and basic info |
These are the minimum permissions needed for FlagShark to function. We never store your source code—we only analyze diffs during PR events.
Step 5: Complete Installation
Click "Install" to authorize FlagShark. You'll be redirected back to the FlagShark dashboard where you can:
- See your connected repositories
- Configure detection settings
- View any flags already detected
Verifying the Installation
To verify FlagShark is working correctly:
- Open a pull request in one of your connected repositories
- Add a feature flag to any file
- Check that FlagShark posts a comment on the PR
If you don't see a comment within a few minutes, check the Troubleshooting guide.
Managing the Installation
Adding More Repositories
To add more repositories after initial setup:
- Go to Settings → Repositories in the FlagShark dashboard
- Click "Manage GitHub App"
- Select additional repositories from the GitHub settings page
Removing Repositories
To stop monitoring a repository:
- Go to GitHub → Settings → Applications → FlagShark
- Click Configure
- Deselect the repository you want to remove
Uninstalling Completely
To completely remove FlagShark:
- Go to GitHub → Settings → Applications → FlagShark
- Click Uninstall
Note: Uninstalling will remove all FlagShark data associated with your repositories.
Security Considerations
FlagShark is designed with security in mind:
- No code storage - We only analyze PR diffs, never storing full source code
- Minimal permissions - We request only the permissions we need
- Encrypted connections - All data is transmitted over HTTPS
- SOC 2 compliance - Our infrastructure follows security best practices
For more details, see our Security page.
Next Steps
Now that FlagShark is installed:
- Complete the quickstart to see flag detection in action
- Configure your settings for your specific flag providers
- Set up branch protection for better flag tracking